Saturday, April 30, 2011

Soft Water!

Since we just bought a new dishwasher and plan on buying more kitchen appliances in the future, we wanted to protect our investment and get a water softener. I also wanted to get rid of the spots on my dishes, and installing one would raise the value of the house. Win!

So we went to Home Depot and looked at the water softeners. We just wanted the most basic one that would work for our house. We found the model we wanted for about $400, and then there was a little sign that said "We'll install it for $150!". So we asked for more details, and they said that they worked with another company, Superior, and that they would install something similar to the model we wanted at Home Depot for a comparable price. So, we decided to get a quote from them. While we were waiting, we called a few other plumbers and got quotes, one at $850 and one at $1300 (both higher than the $550 total from Home Depot). So we had Superior come into our house and test how hard the water was and give us a quote.

THEY TRICKED US.

The guy was basically a salesman, not a plumber, like Home Depot had implied. He tried to sell us a water softener, yes, but he also tried to sell us a water purification system and a new, tankless water heater ($5000) that we didn't want, need, or even have the money for. We tried to tell him this and get him to just give us a quote for what we wanted originally, and eventually, after showing the dude who was boss, he quoted us for $1900. No joke. Home Depot lied.

So we thanked him for his time and decided to do it ourselves.

The softener barely fit into our tiny little Focus:


Here's the brand new box:


This is the before picture:


This is the loop where we were going to hook in the softener. The house was already plumbed for it, fortunately, so we didn't have to do that. The soft water will go to the bathroom and the hot water in the kitchen (a.k.a. the dishwasher), but not the outside water taps or the cold water to the kitchen (which is where the fridge's water line is hooked in, so I won't drink softened water out of the fridge filter).


Scott had to extend the copper pipes and then tie them in to the softener:


We used PEX, which is a little bit flexible, which makes it way easier to work with. The problem was, we needed to hook up 3/4" PEX to the 1" nylon fittings coming out of the softener itself, and nobody in Home Depot could find anything in copper that would do that, but there was a galvanized fitting. Scott didn't want to use the galvanized fitting, but there wasn't anything else, so he figured he would use some Teflon tape and make it work.


No luck. We couldn't get it to stop leaking. At this point it was 9:00 on a Friday night, so Lowe's, or anywhere else that might have the right fitting, was closed. So we had to rig something up so we would be able to use the water that night until we could figure something out.

So the next morning Scott went to Lowe's and they didn't have what we needed, but he was able to find a plumbing store and they knew exactly what we needed. They also explained that the reason the galvanized fitting wasn't working was that the nylon threads were straight in and very precise, and the galvanized threads were cut less precisely, at a slight angle. Of course it leaked! So we got everything installed and the plumbing is all nice and neat:


And here is the after photo:


So nice!

Wednesday, March 23, 2011

New Dishwasher!

As you know, part of the kitchen remodel is getting all new matching stainless steel appliances (so shiny!). We were planning on waiting until later to buy them all, since ours were working just fine, but I've been so fed up with the water spots and mineral deposits on my dishes, and even more with the dishes not even getting clean. I was ranting about it and Scott got up, put on his coat, and dragged me off to Home Depot, where we took the plunge and bought a new dishwasher.

Behold, my new lovely precious:


We had it delivered last Saturday, and Scott installed it himself, because he's brilliant and knows how to do everything. It looks SO SEXY:


There are some really awesome things about this dishwasher. One, it sings at you when it's finished! It's adorable! Two, the handle matches our cabinet hardware! Three, when it's on you can barely tell it's on because it's so quiet!

The new dishwasher will not solve our hard water problems, of course, so next we started the process of getting a water softener installed. More on that later!

Monday, March 21, 2011

The Green Room, Part 5

Even though we all but finished the ex-green room weeks and weeks ago, I've been terribly lazy I haven't had a chance to post about it.

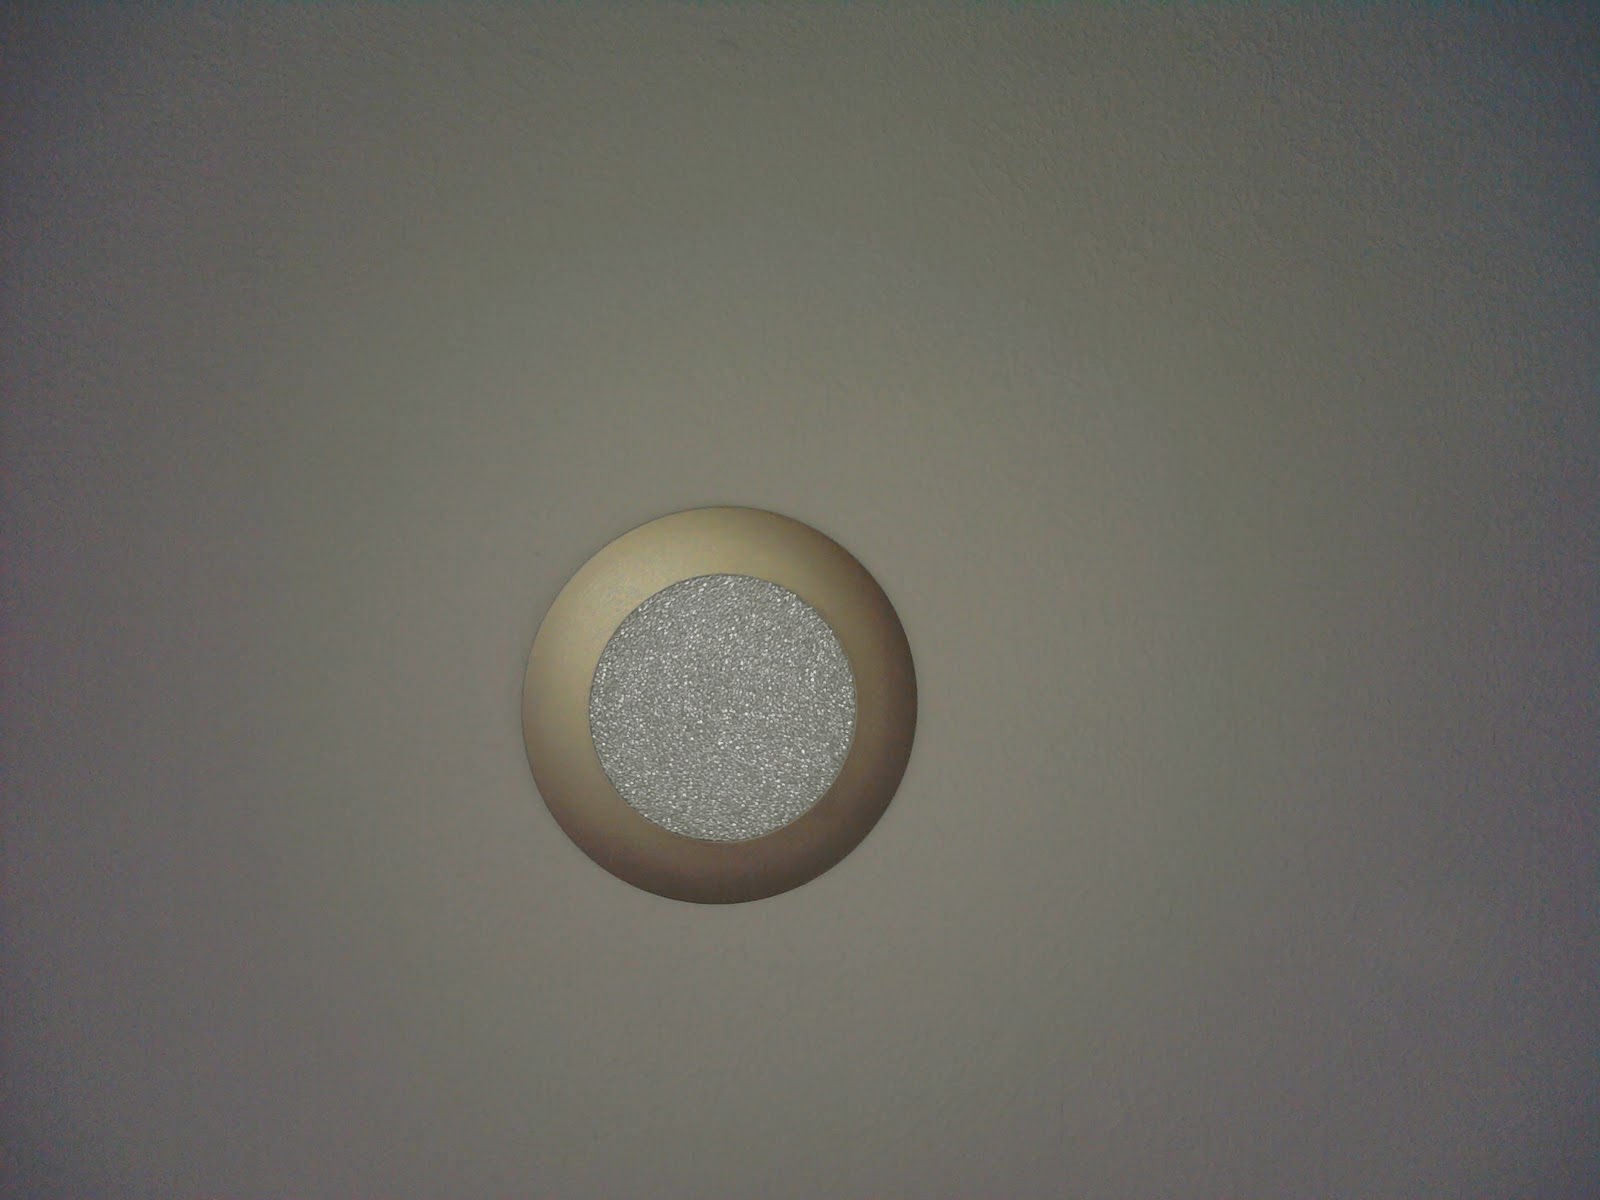
So first of all, here are the light covers we picked for the can lights:


These specific covers were meant for bathrooms, but I liked them so we decided to use them anyway.

Here's me, painting:


And here are a few shots around the room after we finished painting it:


The actual color is about halfway between the colors in the first two pictures. It's a hard color to capture with my cell phone's camera, but trust me when I tell you that it's a very serene blue (the same lighter blue color that's in the kitchen, in fact).

All that's left is building a sill onto the new window and finishing trim, then eventually replacing the carpet, and this room will be completely done.

Wednesday, February 9, 2011

The Green Room, Part 4

Before we painted the walls we decided to do the ceiling. It needed to be textured before it was primed and painted. We wanted the texturing to match the texturing in the rest of the house (well, Scott wanted it to match. I didn't really care as long as it looked good), so we called a professional to get a quote. It's a small room, right? He wanted $250! THAT changed Scott's mind! So he went to Home Depot and bought the texturing brush and did it himself. It only took him about an hour, and it turns out, it looks just like the ceilings in the rest of the house. WIN.

Then the ceiling got primed and painted. At one point we noticed that a seam was showing in one spot, so Scott sanded it down and re-textured it, and it looks much better now.


So here it is, pretty much finished (we needed to get a new register cover and put the covers on the lights, but otherwise it was done):


The next bit we wanted to do was to replace the window. When we moved into this house, there were several windows that were cracked, so we asked our landlord to replace them. He did, but he is a total cheapskate and bought the cheapest, crappiest windows you could ever find. It even cracked again, but we didn't use this room for much except storage most of the time so we just didn't worry about it. But now that it's open to the rest of the house and will be used regularly, we needed to make the room habitable, and this window was letting cold air in like crazy. So we went to Home Depot (I'm sensing a theme) and bought a new one. Here's Scott tearing out the old one:


And here he is installing the nice, new one:


It even looks nicer than the old one, and it's an energy-efficient window, so now it stays plenty warm in there.

I continue to find it amazing that Scott knows how to do EVERYTHING. Flooring. Cabinets. Drywall. Ceilings. Windows. Doors. Decks. Shower doors. Siding. EVERYTHING.

He's magical!

Tuesday, February 8, 2011

The Green Room, Part 3

After the electrical work was done, the insulation back up, and the can lights installed, the next step was putting up drywall. Scott has a group of very super awesome friends that were willing to come over and help in exchange for lots of pizza.

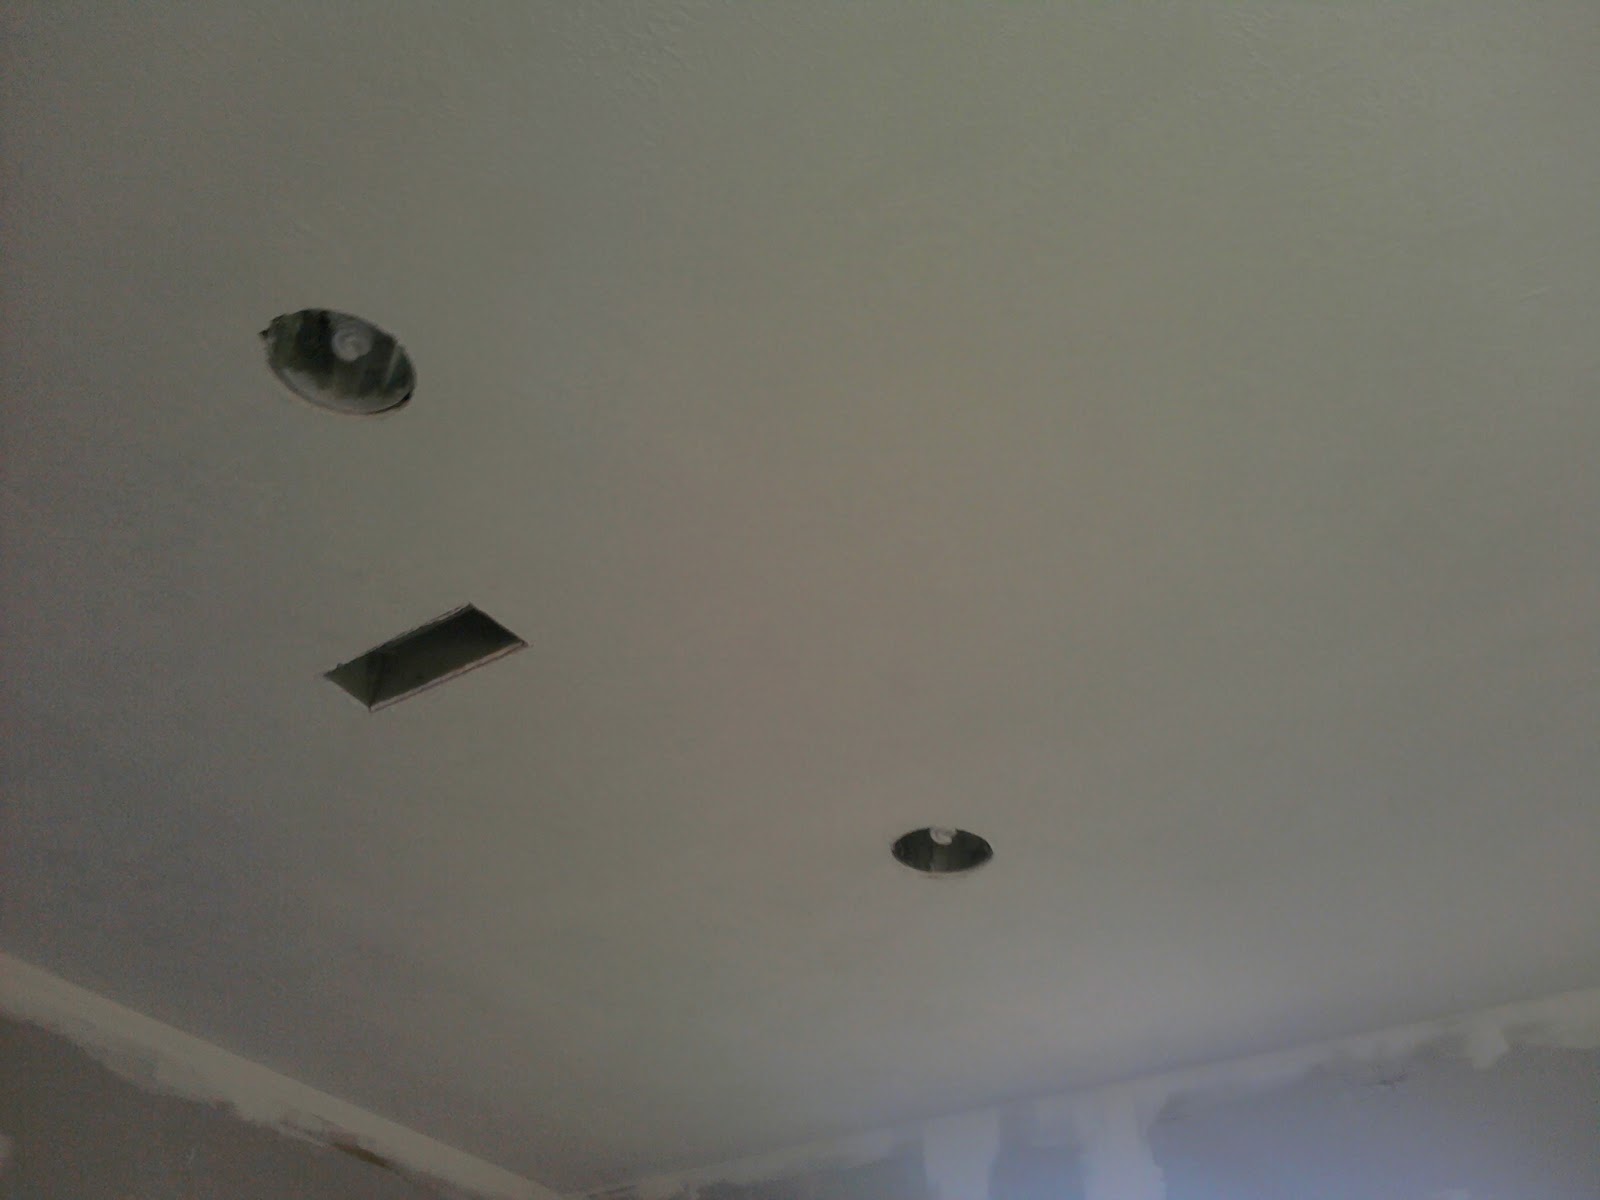
The hard part was the ceiling, especially because we had to measure and cut very carefully the holes for the lights. The nice thing is that Scott found a little thingy at Home Depot that we hooked up to the drill and it made a perfectly round hole.


Once the ceiling was in the rest was (comparatively) a piece of cake.


After drywall we mudded the whole room to get it ready for painting.

So here is the view up the stairs:


And here is the view from the stairs:


Progress!

Wednesday, January 19, 2011

The Green Room, Part 2

So when I left you we had a giant pile of mess down in the ex-Green Room. We cleaned that all up, and now we have a giant stack of drywall in the garage, and for a while Scott couldn't fit the Mustang in the garage so it had to be in the driveway, so in the cold mornings it wasn't happy and refused to start, so I've been driving Scott to work sometimes.

Anyway.

Once we got everything stripped to the studs we had to do some electrical work. Ok, a LOT of electrical work. Before there had been only one (ugly) light in the ceiling, and we kinda have a thing for can lights, so we wanted to install some in this room. We bought six, but when we were deciding where to put them we decided to just do four (which turned out to be plenty bright), so we have two for when we finish the basement. We had to do some fancy wiring, because we have two on one switch and two on another switch, so there are three ways to light the room, and you can have less light or more light for whatever you're doing.

Here's Scott working on the switches:


At one point while Scott was sorting out all the electrical weirdness that was already in the walls, we came across a bundle of wiring that was for...? It was a giant bundle, and we couldn't tell where it led or what it was for, so we had to turn off all the breakers for the entire house to work on them safely, so Scott had to work by flashlight for a little while:


Here's a shot of one of the can lights:


Obviously, it will look nice when it's finished. The four are in a perfectly symmetrical grid that fits perfectly in the center of the room. We love this.

Remember that giant mess of wires we found in the wall that had been taped together? Fixed!


So here are a few shots for a view of the room all ready for insulation and drywall:


Note the Buster sighting.


Here's when we started to get the insulation put back in:


Note the Buster tail sighting.

Friday, January 14, 2011

Green Room Demo

Recently we've been talking a lot about what we want to do with the basement and the downstairs room, and we decided that for the downstairs green room, we wanted to either keep it as a bedroom or turn it into a family room/den. We needed to re-do the drywall in the entire room, anyway, because there had been water damage before and the drywall looked AWFUL. You could see the seams through the paint. Absolutely terrible.

So here is a view looking down the stairs from the kitchen:


On the right is the door to the basement and on the left is the door to the green room.

Here you can see the inside of the door to the green room:


Whether to make it a family room or not depended on a few things. One was whether the wall around the door frame was structural (so we would be able to knock the wall out) and the other was whether the weird little ledge around the room was part of the foundation.

First up we puled up the wood shelf that was on top of the ledge:


It was, in fact, part of the foundation, so we were stuck with that, but we were able to take the wood shelf off and that made the ledge only a few inches deep. We can deal with that. As to the wall, we ripped it open to see if the wall was structural or not, and it turns out it wasn't, so we had both options open. A quick call to Mim, who is very good about these sorts of things, and we decided that it would be better, real-estate-wise, to have a family room there than a bedroom, since we're going to build another bedroom into the basement.

We only intended to open up that wall and the ledge and start making decisions and brainstorming, but Scott felt like he was on a roll, so he just kept going on the demolition! We also decided that we should put off buying flooring for a while and do this room instead, since it would cost much less and we could continue saving our money for a while and paying off the Home Depot card.

Scott knocked out the closet, making the room much bigger, and knocking out the wall with the door made the room seem much bigger as well, and made it flow up the stairs into the kitchen/living room. It was a very nice effect.


Here's the funny thing: as you know, our house was apparently built by half-trained monkeys. Every time we rip something open we make a bet about how many things are not to code, or just weird, or dangerous. This time, I bet 3 and Scott bet 4. But every time we pulled something out, something else was wrong, until we started keeping track of how many, just because it was funny!

Here's one, for example:


This is one place where the "electricians" cut a ton of extra Romex and instead of trimming off the extra and doing it properly, they TAPED IT TOGETHER and then just stuffed it into the wall. Scott actually got very angry about that one, because not only is it not to code, but it's downright dangerous and it could have started a fire. Lame.

Here's another one:


We found this series of holes inside the closet, and we were trying to figure out what in the world they were...and Scott figured it out and just about fell over laughing. The people who built this room apparently didn't know how to find studs, so their method was to pound in nails all along the wall until one stuck, and that meant they found the stud! Holy stupidity, Batman!

Anyway, there were so many things: things not to code, things made of the wrong materials, things that didn't make sense and several things that were just absolute WTF were they thinking things. Scott started making notches in one of the walls:


Yep. We got to 16 before we just stopped counting. When ripping it all open, and taking a look at what had been done, it became painfully obvious that the room has originally been a den and someone had turned it into a bedroom, but this someone definitely wasn't a contractor, or even a monkey. It was definitely some sort of slime mold, because WOW it was weird.

So here's part of the mess:


And here's the view down the stairs:


More to follow!