When we had our cabinets delivered we stashed them in the garage, but the night before we wanted to start on them we pulled them all upstairs and they completely filled my living room so I couldn't get to anything, and for a little while we had Buster trapped in the corner (don't worry, we let him out eventually...ha).
The first order of business was getting the upper cabinets on the walls. First up we had to fasten them together, so we put two or three together on the floor before we got them up onto the wall.
You have no idea how hard it is to get these things up properly. They have to be perfectly level and corners and sides have to line up perfectly or else it won't work. One trick Scott had for making them level was to build a ledger underneath where all the upper cabinets would be. We made the ledger perfectly level, and that made it WAY easier to hold the cabinets level while they were being screwed into the wall.
We had a bit of a problem when we went to put in the solitary cabinet by the window. I wanted an equal amount of wall space between the window and the cabinets on each side, but I also wanted the very end of the upper and lower cabinets to align vertically. That didn't add up, however, so I had to make the very difficult decision to have the ends align instead of equal space around the window.
Ugh.
So here we are with the large section of upper cabinets installed (sans doors). At this point it started to look like it might actually turn into a kitchen at some point.
After we got all the upper cabinets in we started on the lower cabinets. We started in the corner by the window. It took a long time to get it level and such because our floor is not level and our walls are not straight. But, we got there.
Next up was the sink base. This one was tricksy. It seemed that no matter how we arranged the shims it just wouldn't work. We worked on this for TWO HOURS. Two. Finally Scott and I were getting really really frustrated and we were starting to get snappy with each other and we decided we should take a break and go get snacks at Maverik. Scott and I went and left Mim at the house, and by the time we got back she had magically shimmed it HERSELF. In ten freaking minutes. Anyway, it was a victory.
Then we decided to double check our measurements before we moved on. Um. We were like 1.5" off...and the sink base was off center under the window. Thank you Home Depot, for giving us incomplete plans. There was supposed to be a spacer between the corner cabinet and the sink base...so we had to cut a spacer, take the whole sink base out, and start again. It was...disheartening. Fortunately, after that the rest of the cabinets were a cinch.
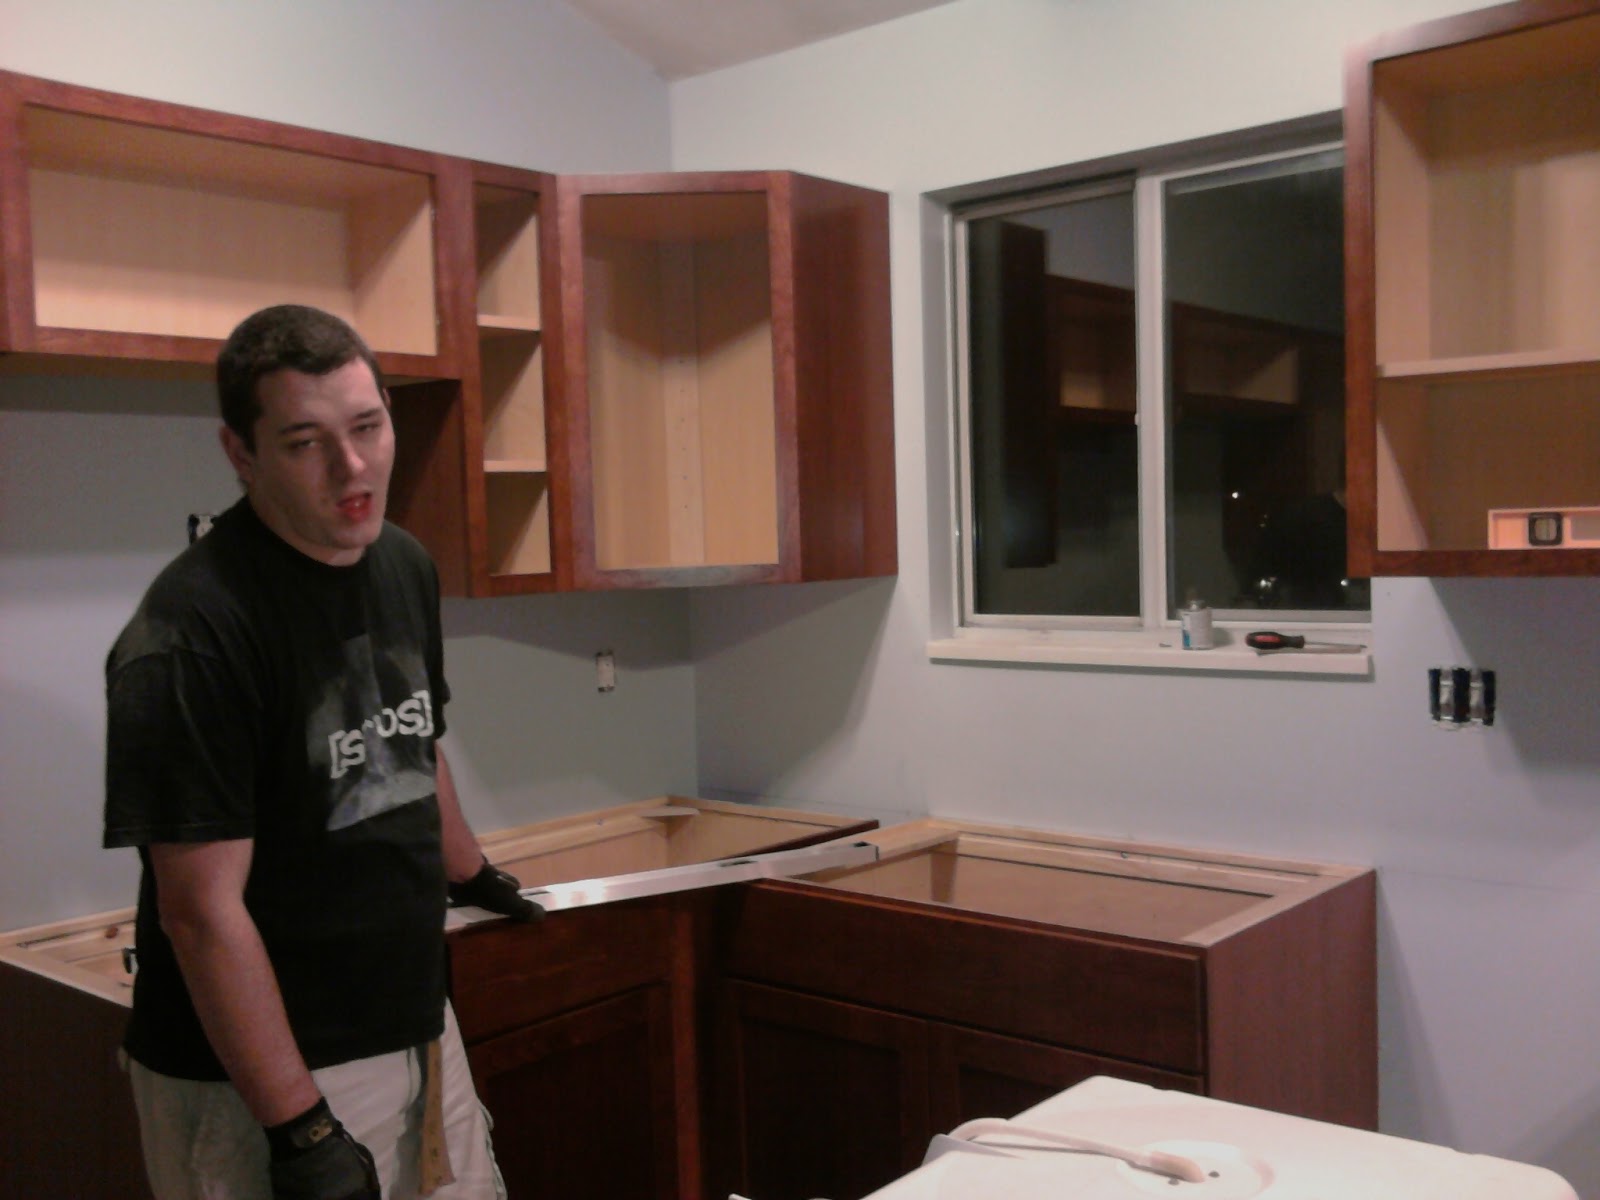
After a long, LONG day, we got to the point where we could finish by ourselves, so Mim went home. I wanted to just quit for the night, but Scott thought that he might be in too much pain the next day (stupid back spasms) to get much done, so he wanted to do as much that night as possible.
Here is Scott, expressing how tired he was at this point. He will probably be mad that I posted this picture of him. That's too bad. It's funny.
So Scott started putting doors on the cabinets, while I put shelves inside them (and took pictures, obviously).
Just look at that gorgeous cherry color!
The next day we put hardware on, and that's about all we can do until our countertops get installed. So here's the (semi-) finished kitchen:
The appliances, eventually, will be stainless steel, but that's a long way in the future. We need to get a floor put in first!
The countertop dude came this past Friday and made a template for the countertops, and they will be delivered and installed this coming Friday. I'm really excited to spend that weekend organizing and cleaning up my kitchen!